 July 1st is fast approaching and the patriotic décor is popping up all over my neighbourhood. If you are short on the good old red and white for the upcoming holiday here’s a quick-to-make free project to dress up your home.
Here’s what you’ll need to make your Canada 150 Banner
Measures 9 ¾”W x 17 ¾” H

Download the Templates
Print The Templates
- Open your document using Adobe Reader and save to a file that’s easy to find later, such as “Canada 150 banner”.
- Set your printer options to “print at actual size”, “actual size” or “scale 100%”. Each printer varies slightly in the language it uses.
- Set the printer to print single sided.
- To begin, test print only the page with the 1″ test square. Measure it carefully once printed. Repeat the test print until it measures exactly 1″.
- Once you are happy with the scale, print both pages.
Materials
Color Fast Red fabric – .25m, 1/3 yd
- Bands: Cut (2) 4 ½” x 10 ¼”
- Maple Leaf: Cut (1) 8″ x 8″
White fabric – .3m, 1/3 yd
- Center: Cut (1) 10 ¼” x 10 ¼”
White Felt – 3″ x 15″
Lining fabric – .4m, 1/2 yd
- Back: Cut (1) 10 ¼” x 18 ¼”
- Edging: Cut (2) 2 ½” x 17 ½”, Cut: (2) 2 ½” x 11″
- Hanging Sleeve: Cut (1) 2 ½” x 10 ¼”
Pellon Peltex sew-in – .4m, 1/3 yd
- Cut (1) 10 ¼ ” x 18 ¼” If you don’t have this product you could use fusible fleece, it just won’t be as square a finish.
Steam-A-Seam 2 Double Sided Fusible Web – .2m, ¼ yd
Instructions to Make the Canada 150 Banner
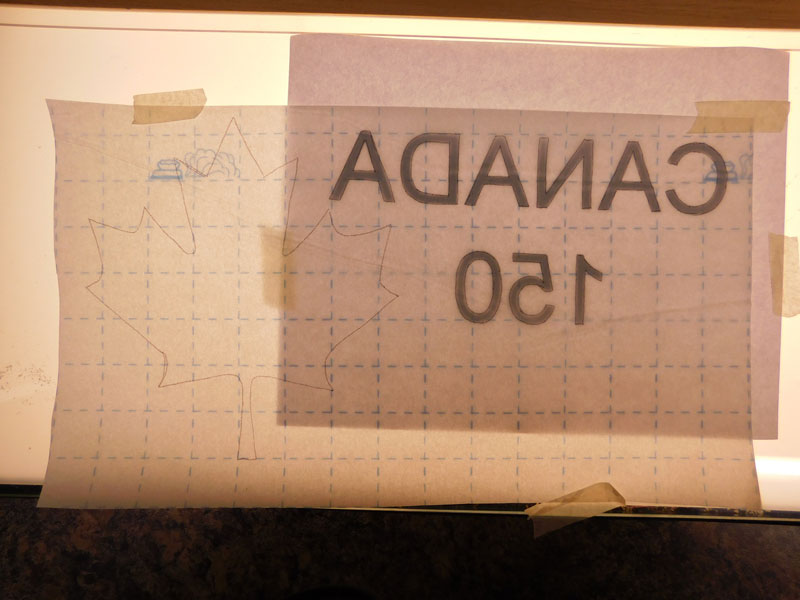
Using the templates, trace the leaf and letters onto the fusible web paper using a light table or by taping to a window.

Roughly cut the maple leaf shape out leaving ¼” beyond the marked lines. Remove the paper backing. Following the manufacturer’s directions, fuse the web onto the wrong side of the 8″ x 8″ red fabric. Cut out along the line and set aside.
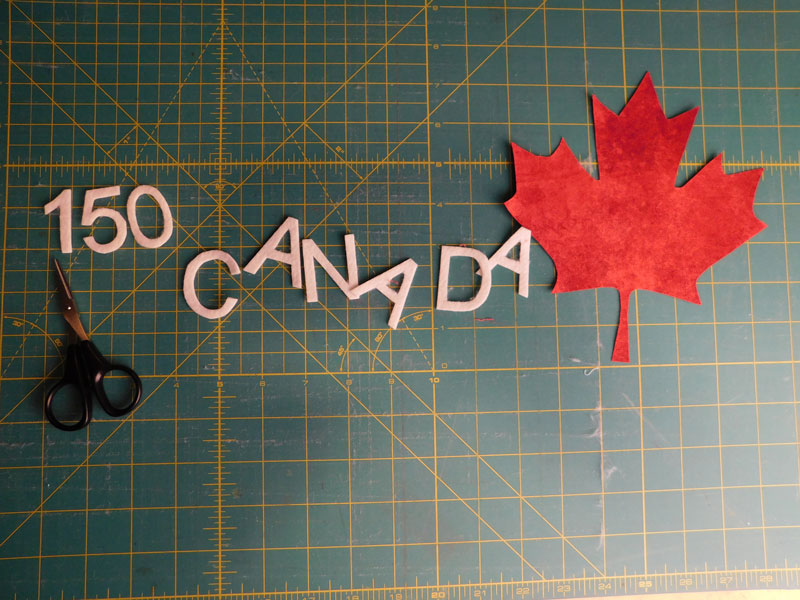
Cut the letter shapes leaving a ¼” border. Don’t cut out each letter shape just cut around the whole mass. Fuse the letters to the white felt like you did before. Cut out each letter on the lines with sharp scissors and set aside. I’ve used felt rather than white fabric for the letters because the white fabric is too translucent and the letters would have looked pink. The felt also gives a nice 3D effect.
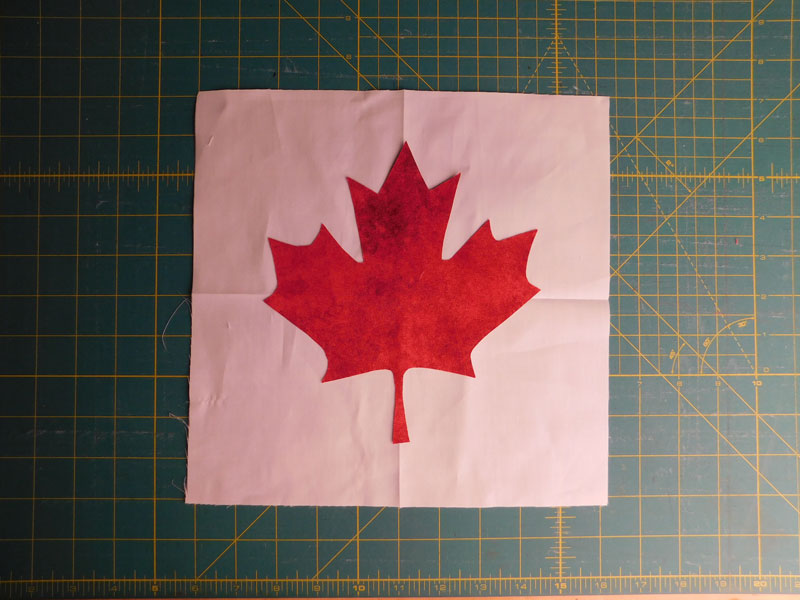
Fold the white fabric 10 ¼” square into quarters to find the center. Remove the backing paper from the maple leaf. Center the maple leaf on the square and fuse in place.
Sew the red bands to the top and bottom edges of the square using a ¼” seam allowance.
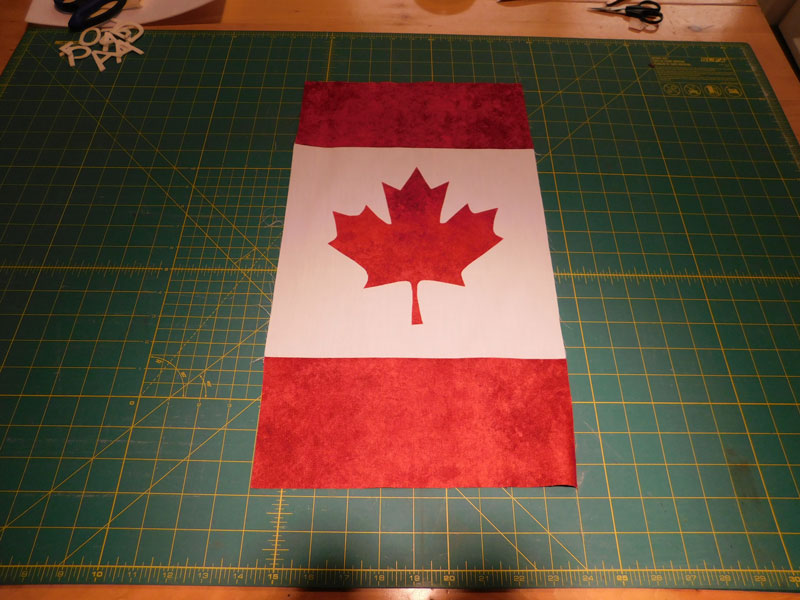
Press the seams towards the red fabric.
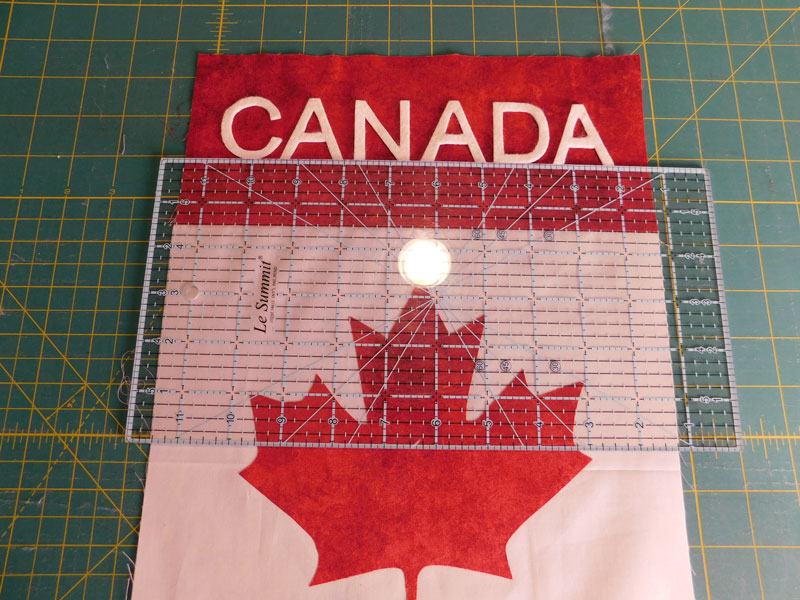
Draw a line 1 ½” from the top seam allowance using a remove marker or simply lay your ruler on the fabric for guidance. Arrange the CANADA letters centering them.
Once you have them centered remove the backing paper and fuse in place.
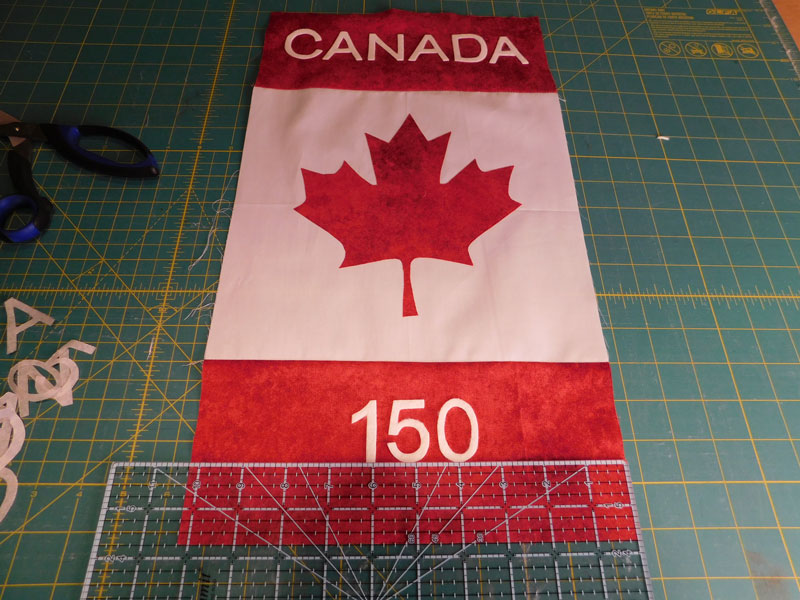
Draw a line 1 ¾” from the bottom edge of the banner or lay out your ruler for guidance. Center the number 150 along the line, remove the backing paper and fuse into place.
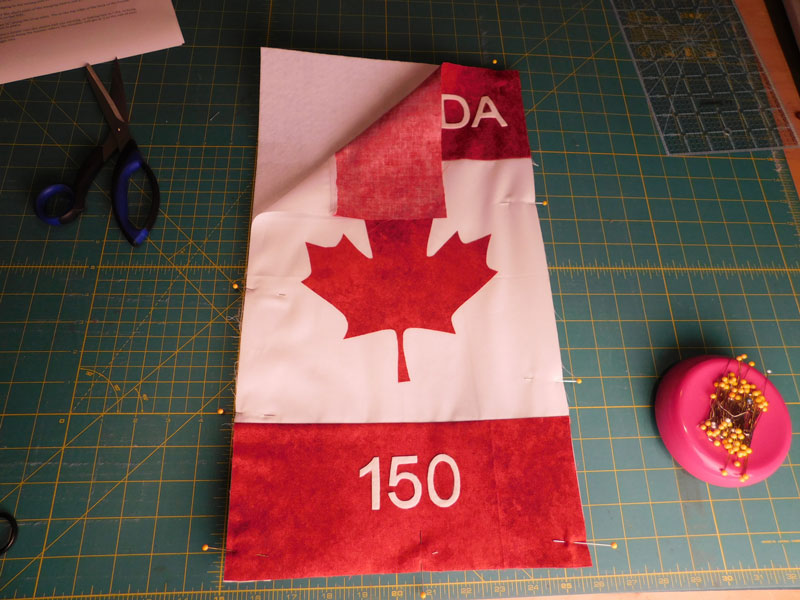
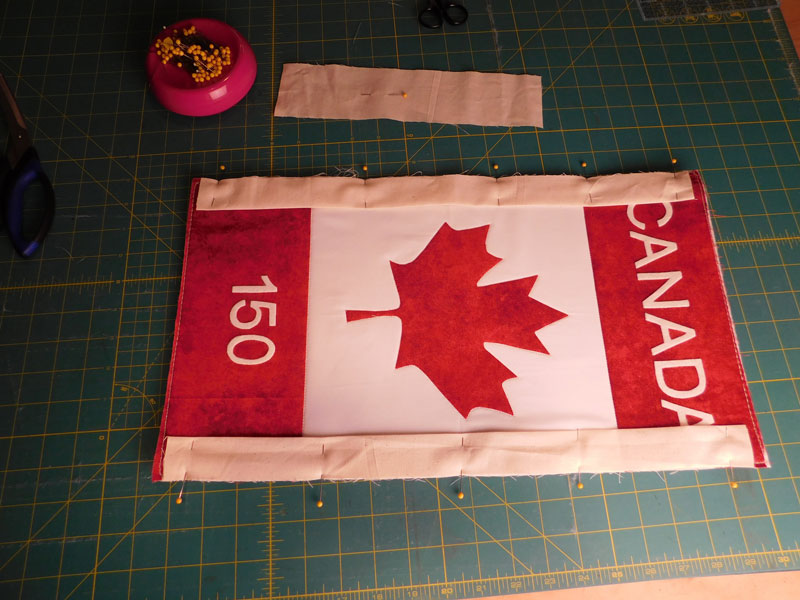
Pin the Peltex to the wrong side of the banner front.
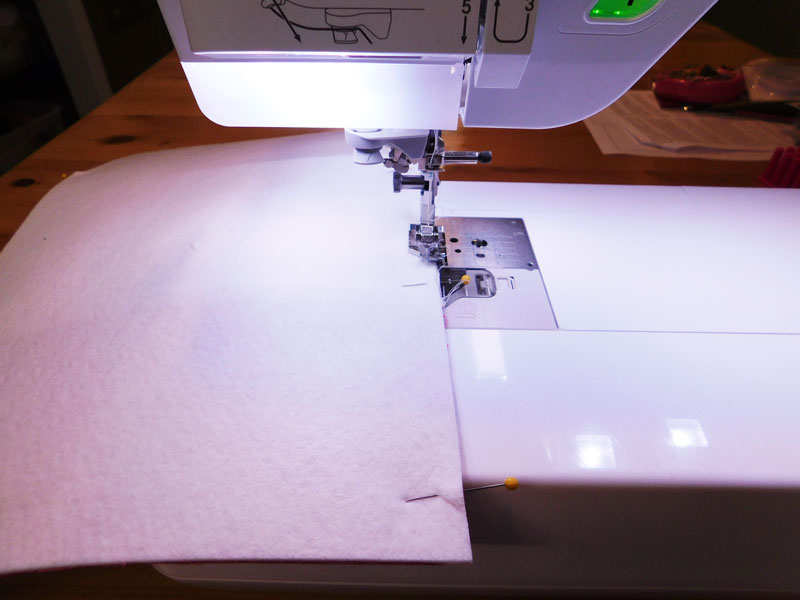
Using a scant* ¼” seam allowance, baste** around the banner. When basting, the Peltex side is up under the presser foot. This decreases the likelihood of a pucker forming on the fabric side.
* Using a seam width of less than ¼”
** Sew using your longest straight stitch length
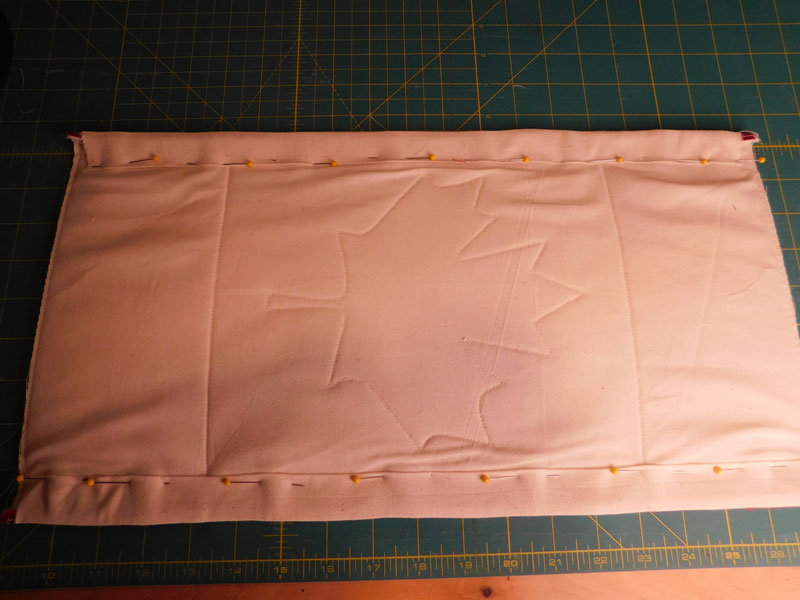
Pin the back lining fabric to the other side of the Peltex. With the front of the banner facing up under the presser foot, baste around again on top of the previous line of stitching.

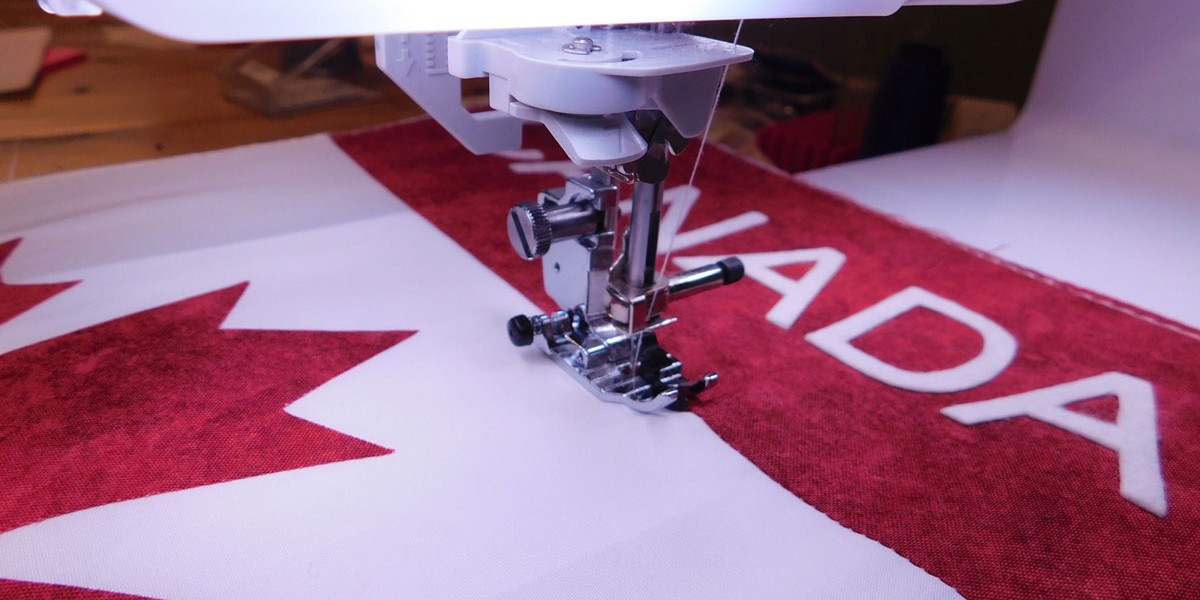
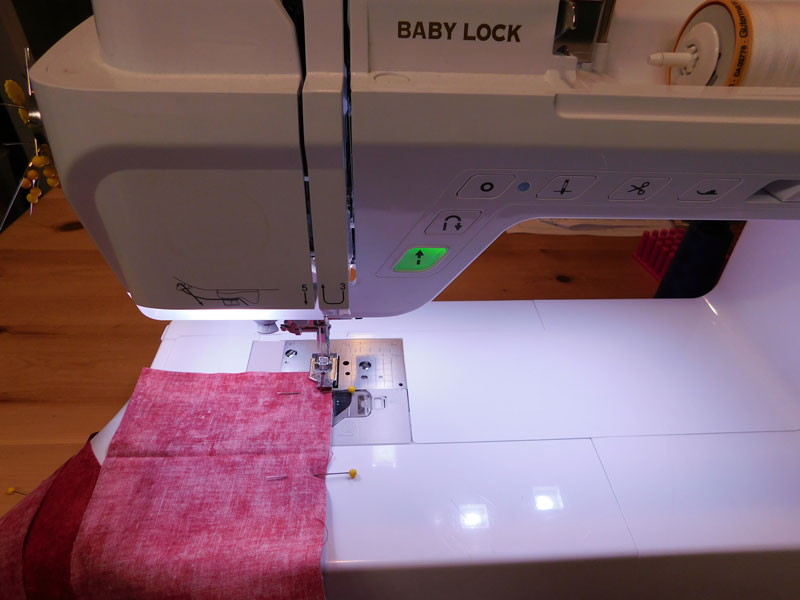
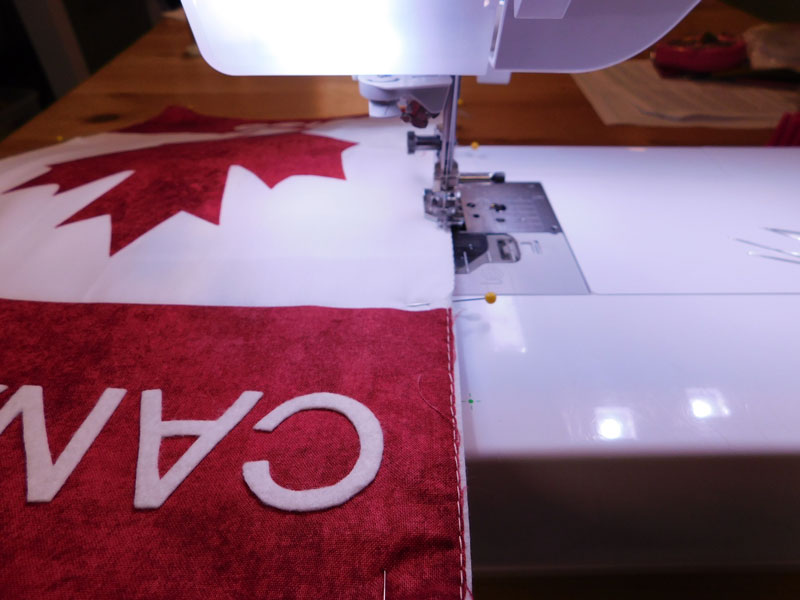
Stitch in the ditch* along the front seam lines. I am using my Baby Lock Unity sewing machine and the Stitch In The Ditch Foot, to stitch inside the seam allowances. Because this foot is used primarily for sewing fluffier quilts together I am adjusting my needle position slightly to hit the ‘ditch’.
*Sewing in the seam allowance

Now I use the Open Toe Foot to stitch around the white fabric around the maple leaf. This foot gives you a good view of where you are sewing. I’m not sewing on the leaf (if I can help it) so I use a 2.0 mm stitch length for accuracy.
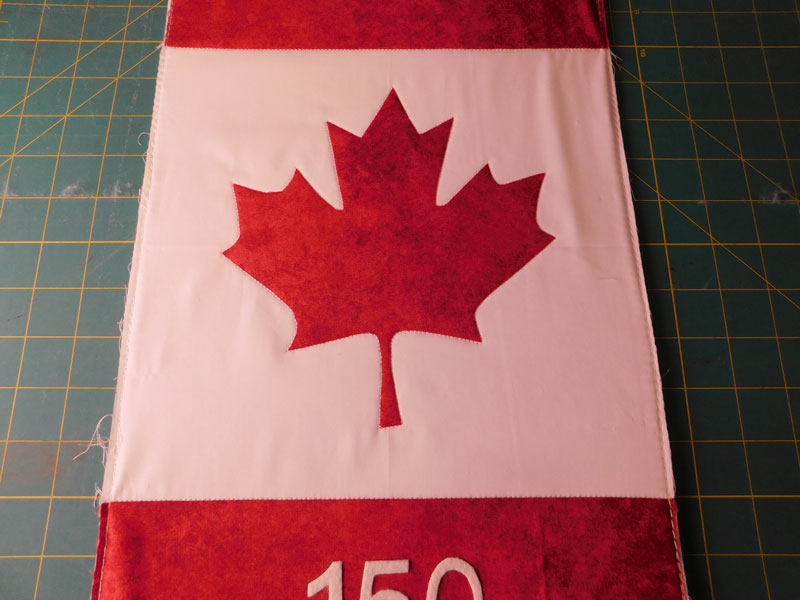
Here’s the look. My stitching is holding the 3 layers together.
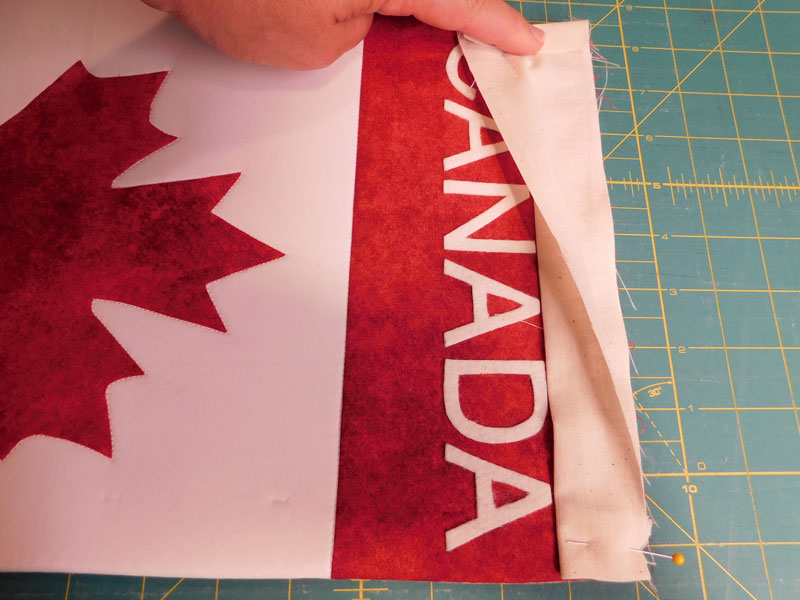
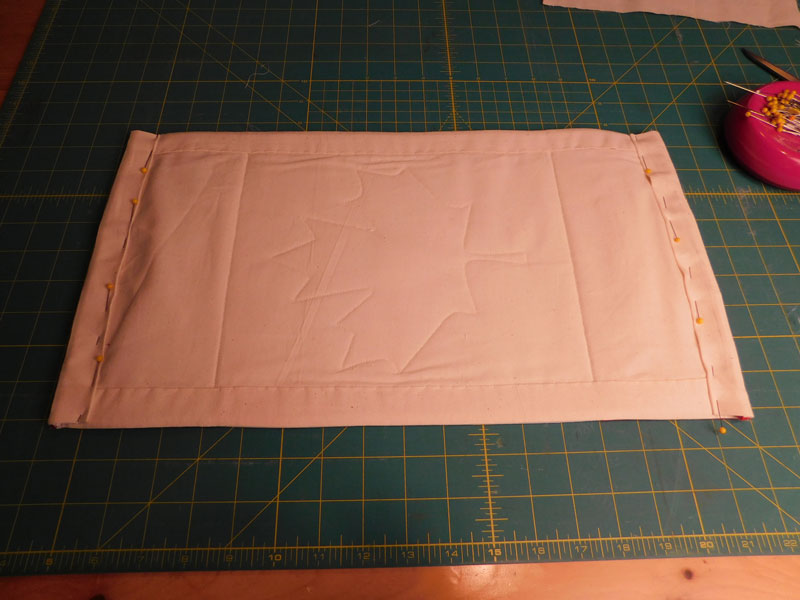
Press the 2 ½” edging strips in half on the length so they measure 1 ¼” wide. Center and pin the longer strips to the long sides of the banner front so raw edges are even. They are not quite long enough. This is correct. Sew using a ¼” seam allowance.
Steam press the edging to the wrong side of the banner so that the seam allowance is along the edge of the banner. You’ll have to press vigorously because the Peltex is firm. It will give your banner the crisp look of an art quilt. Pin and hand stitch the edging to the back.
Press under the short ends of the edging strips so that they fit the short ends of the banner. Pin to the right side of the banner along the short sides like before and sew.
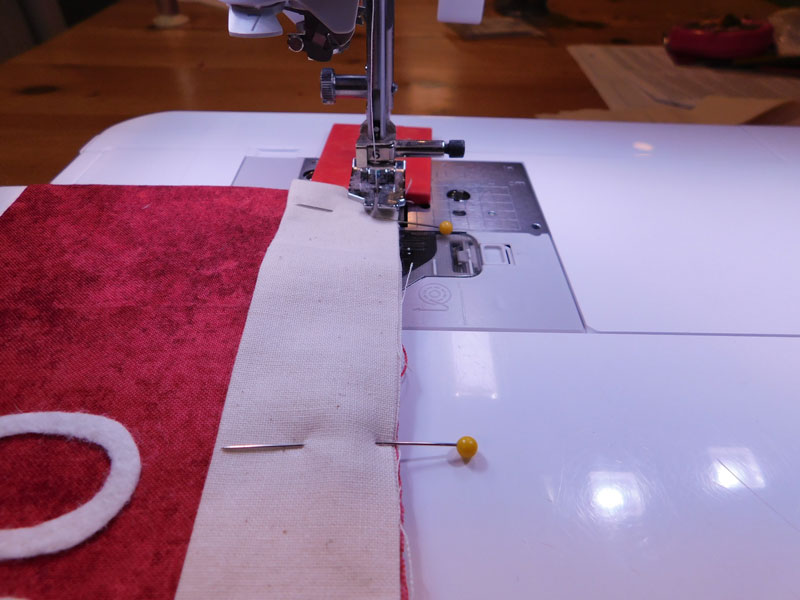
I use a Jean-a-ma-gig when I start stitching. Sewing machines don’t like to sew uphill and this device levels the back of the foot. You can use cardboard or several layers of fabric to level your foot if you don’t have this notion.
Press the edging to the wrong side of the banner. Pin and hand stitch in place.

Turn under the short ends of the hanging sleeve by ¼” and press. Turn under again and stitch close to the fold.
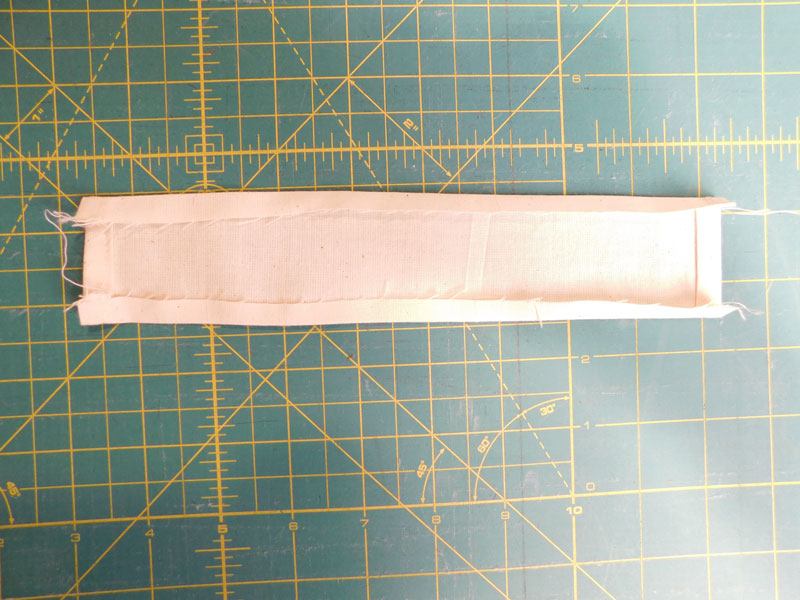
Turn under ¼” along the long sides.
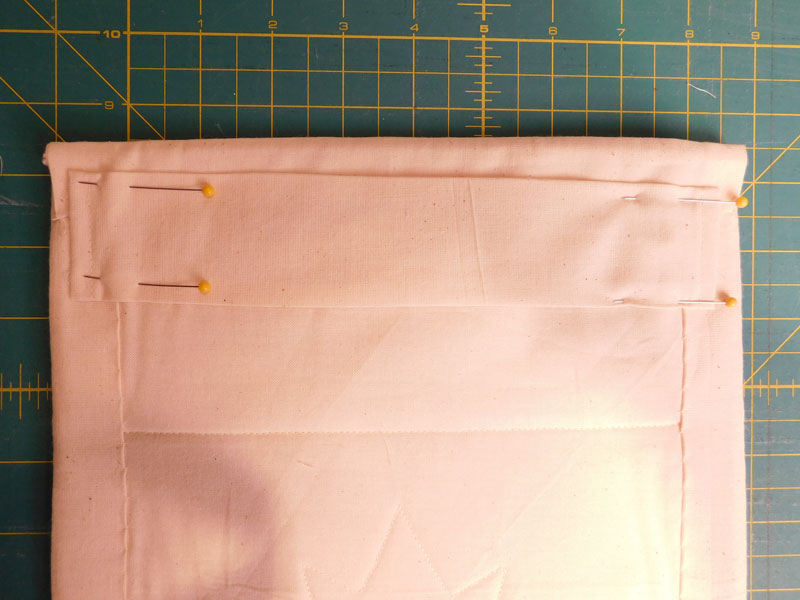
Pin ½” from the top edge at the back of the banner. Hand stitch in place. Insert a 9″ dowel into the sleeve. You can tie on cording, or fishing line as I did, to hang. Be careful not to hang the banner where the weather will get at it as the red of your fabric might run.
More
Like this pattern? Try a bagmaking class! In these video classes I walk you through all the steps to make a beautiful bag that you can personalize with the fabric of your choice.
Currently, the Essentials Tote, the Sweet Talk Phone Bag, and Homeward Bound are available to purchase as video classes.

Leave a Reply