Here’s a dressmaker’s tip that will help you create perfect corners on a patch pocket
I recently came across a video by SewMamaSew and wanted to put my own spin on the idea. The first thing you need to know is that this technique will work with quilting weight cottons, but don’t expect the same results using bulkier fabrics.
After you’ve finished constructing your pocket, be sure to check out my video called Topstitching a Patch Pocket Without Backstitching, for a technique that will give you a perfectly installed pocket.
Standard Pocket Construction
Normally when we sew a pocket we put the two pocket pieces right sides together, sew around and leave an opening for turning. The corners are clipped to remove bulk. Then we turn the pocket right side out and poke into the corners with a point turner, trying to get the best corner possible.
This does not always work out as well as we might hope because the corner is compromised by trimming, and using the point turner causes a bit of a bulge. The pocket corner is just not square. How frustrating when all the rest of our bag or garment looks spot on perfect!
Alternative Pocket Construction
In my example I’m using some Kaufman cottons and my Baby Lock Unity sewing machine. The outside fabric has been interfaced with a product I carry, Pellon Shape-Flex Fusible interfacing, stock number SF-101.
I used a ¼” seam allowance sewing my patch pocket. This smaller seam allowance also cuts back on the bulk.
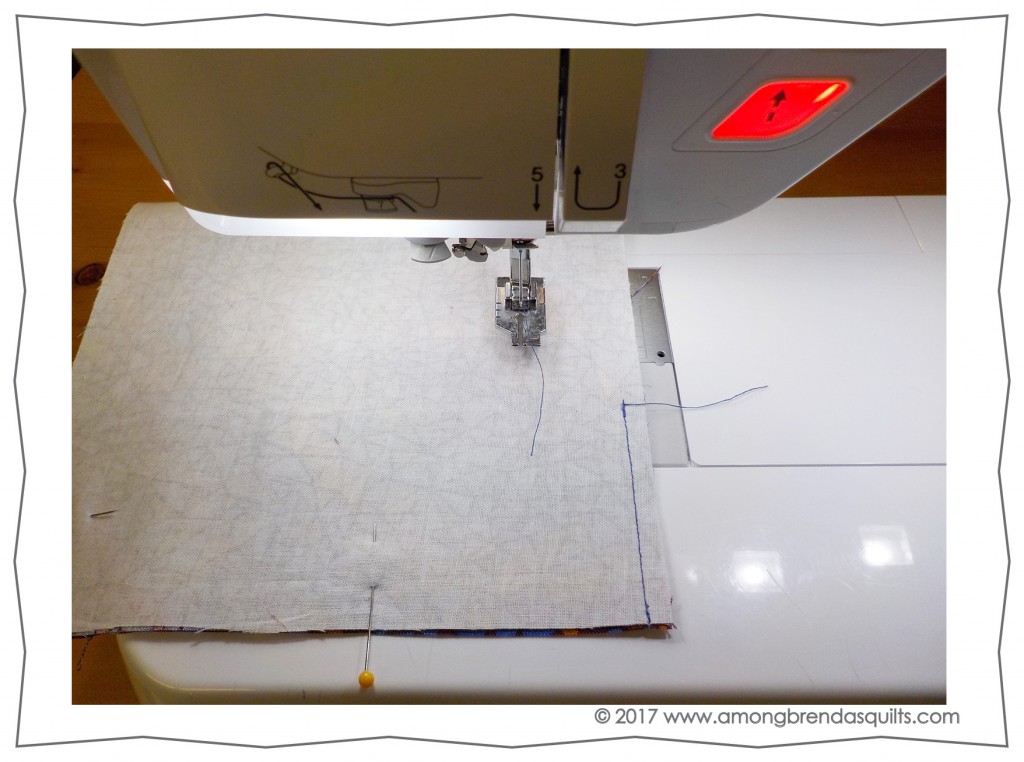
The basic concept is that you don’t do any trimming of corners and you sew across to the edges. Here you see I have started at the 4″ opening along the bottom edge of the pocket.
This opening will be closed later when the pocket is edgestitched to my bag.
Begin sewing your pocket
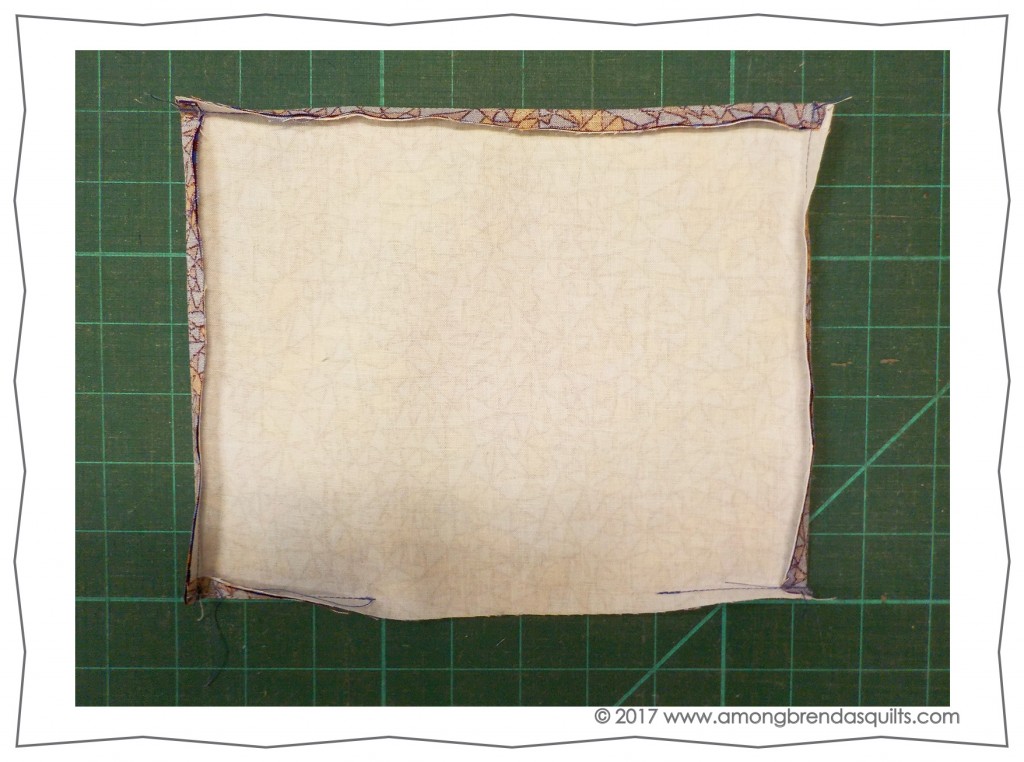
To begin sewing my pocket I backstitch to start sewing and sew over to the first corner, backstitching there as well. Then, I break the thread.
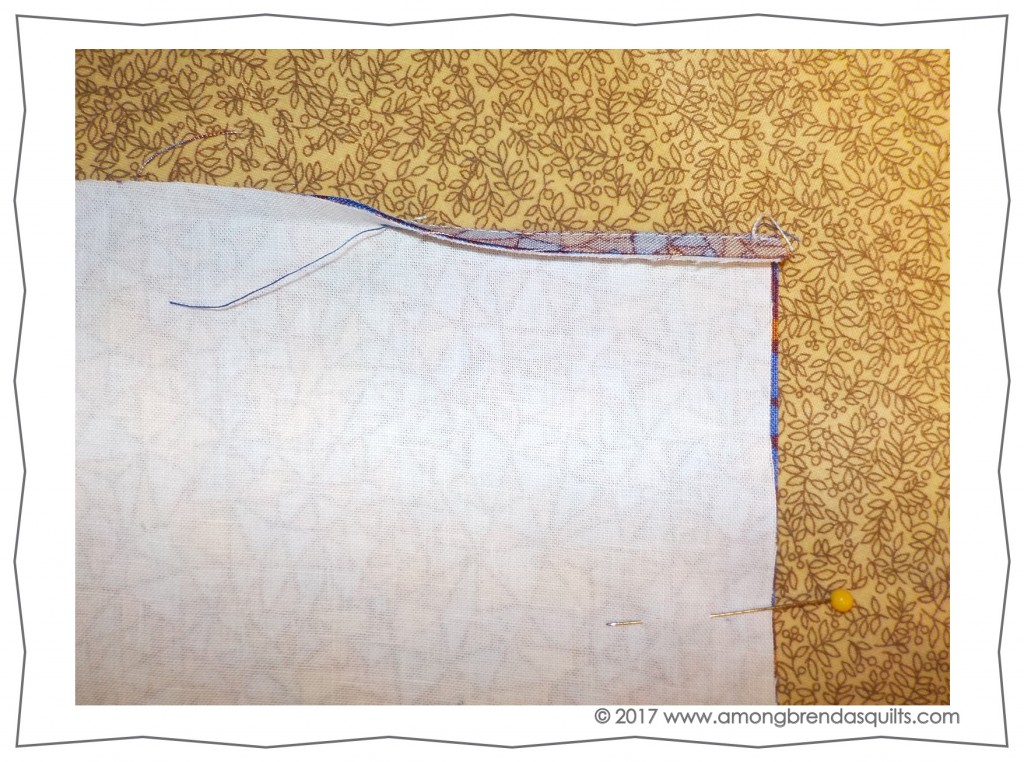
From there, it’s over to the ironing board. I press, just the corner, over towards the next side. You can finger press like Sew Mama did if you like, but I’m a pressing addict, so I pressed, and later on you’ll see how that made things easier.
In the next step, use this tip to avoid sewing uphill
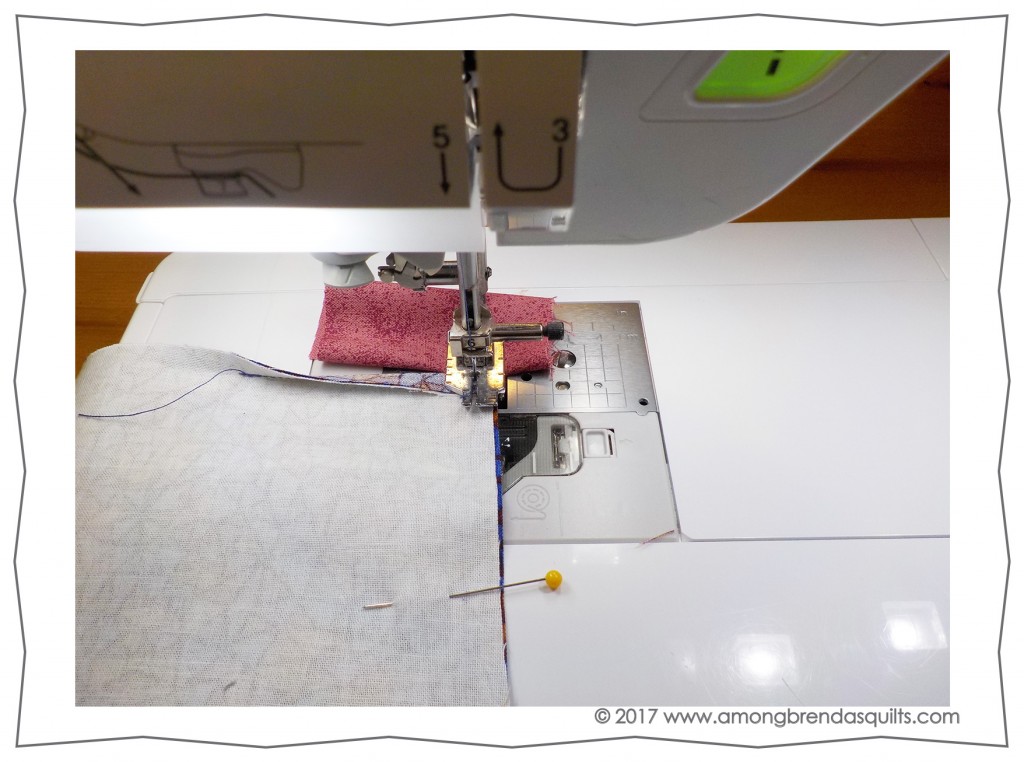
Next, start stitching at the same corner, sew over the fold and continue down to the next corner. It’s important to backstitch at both ends of your stitching line to give your corner lots of strength.
We are making a tough little pocket here folks! The trickiest part is getting your machine to start sewing at the pressed over edge.
Here’s a tip. Fold a scrap of fabric to four layers and place it under the back of your foot to level it, so that it is not trying to sew uphill – something sewing machines absolutely hate to do.
Work your way around the patch pocket
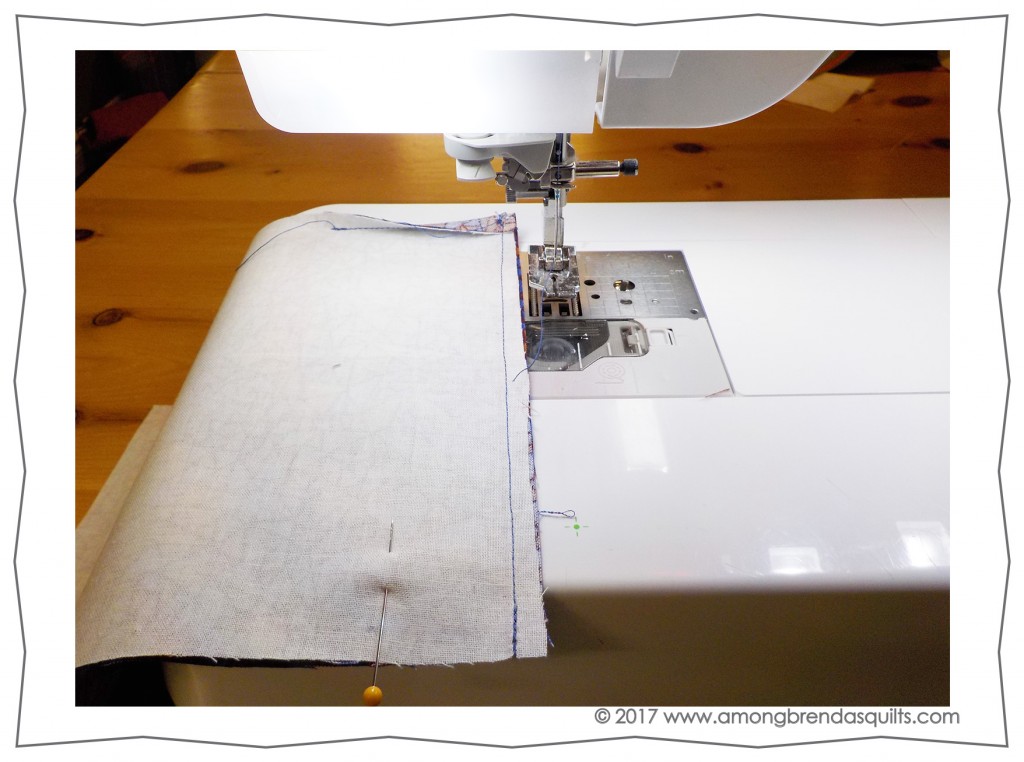
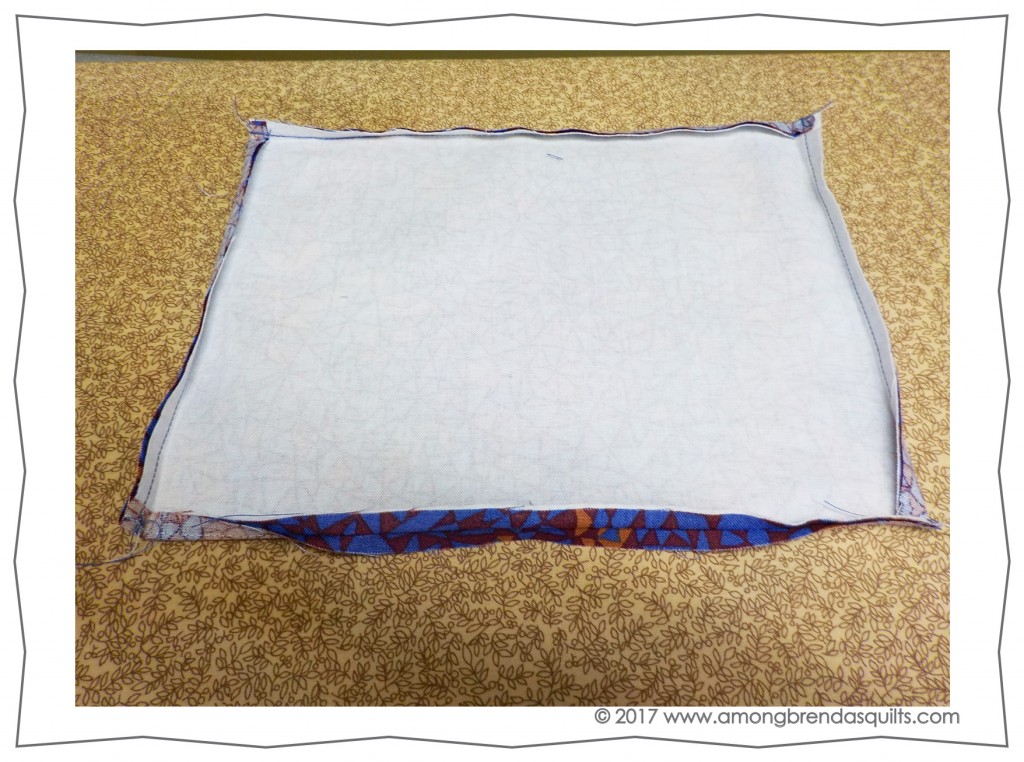
Here’s what it will look like. Of course you’ll need to sew a nice even seam or your pocket will never look square!
You’ll repeat this process, working around the pocket, until you finish backstitching at the other end of the opening left for turning.
Take this opportunity to press back your seams at the opening. I always find this easier to do now rather than later.
Turn your pocket to the right side
Turn the pocket to the right side. I used a ‘ That Purple Thang’ tool to turn. You’ll have noticed there’s a lot of purple in this tutorial. With the Thang, I can easily turn the corners out square.
If you’ve pressed the corners they will all want to fold over nicely. If you’ve finger pressed you might have to coax them to go in the right direction with your corner tool. Because of the folding, the corners naturally want to square up.
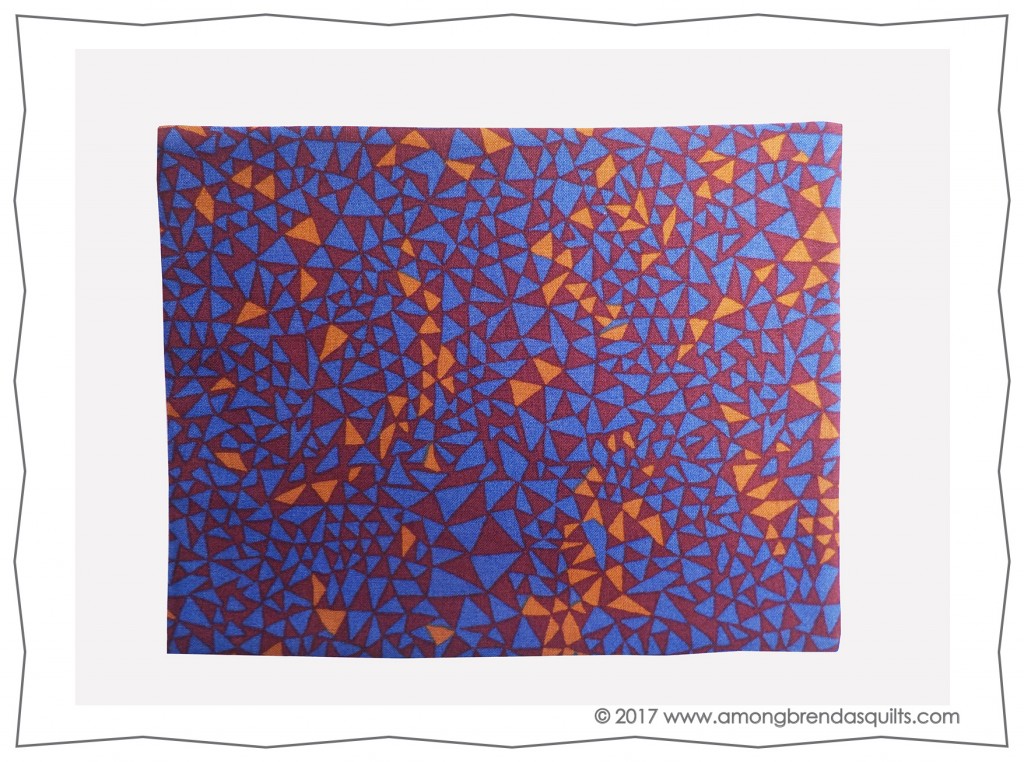
Press flat and stitch in place, and you’re done!
Press your pocket flat and you are ready to stitch it in place. Now, I know the pocket image above does not look all that exciting but if you’ve suffered through a lifetime of mushy, messy corners you’ll be saying just what I did. AH JOY, AH BLISS!!!
Interested in more tips?
Get 12 Free Tips for Bagmakers now and receive our weekly newsletter.


Ah Joy! Ah Bliss! Thank you! Love it!
Yes, I’m just using this method to turn out a tab with a magnet on the end. Works like a charm!
Nancy Zeiman demonstrated this years ago on a”Sewing with Nancy” episode. She calls it wrapped corners.
It’s an incredibly easy and effective method isn’t it? I wonder who came up with the idea – it could be a centuries old dressmakers secret!
I am impressed with this post. Your blog gives a lot of information regarding sewing patch pockets. Thanks for such a post and please keep it up.