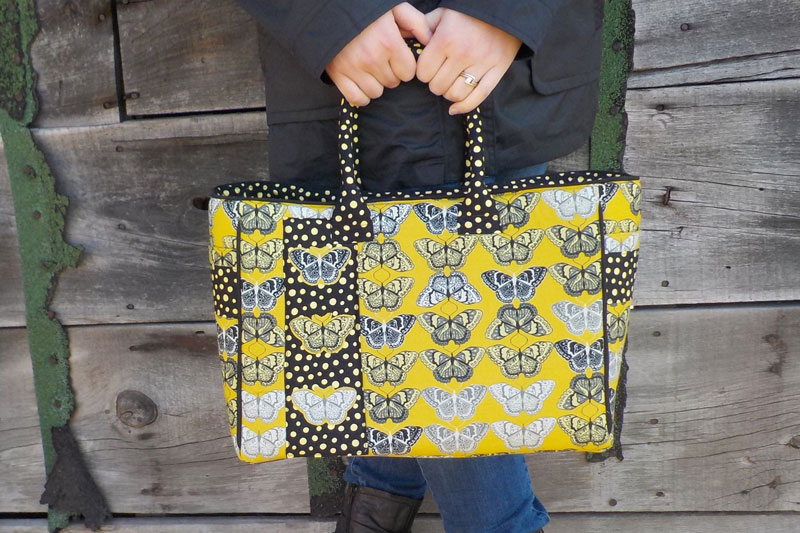
Looking for a technique to make a ‘beefed up’ handle? Installing cording inside your bag handle will give you the profession feel you’re after. In this tutorial I’ll be re-creating the handle I made for my Yorkville Shopper Bag shown above.
How to make a corded bag handle
Cut the materials
Cut two 4″ x 20″ straps from your fabric.
Cut two 3 ½” x 17″ pieces of Pellon Thermolam Fusible Fleece to give your handle some cushioning.
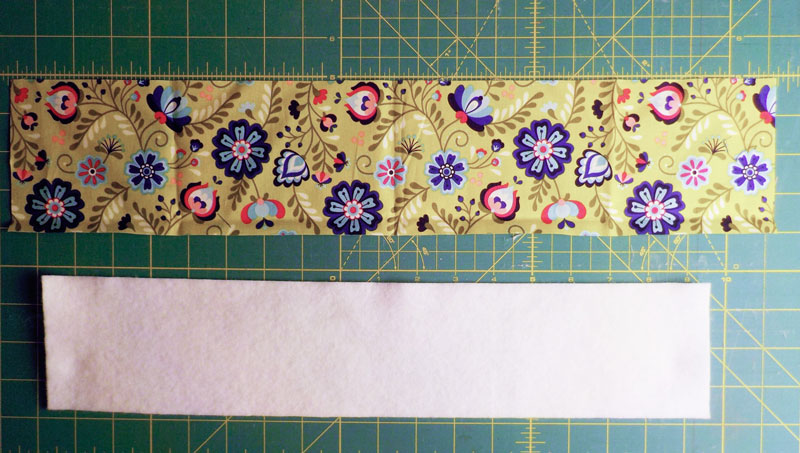
Cut two 17″ lengths of cord. I’m using 5mm cable cord. You could also use large poly-knit cord for a softer feel.

Construct the handle
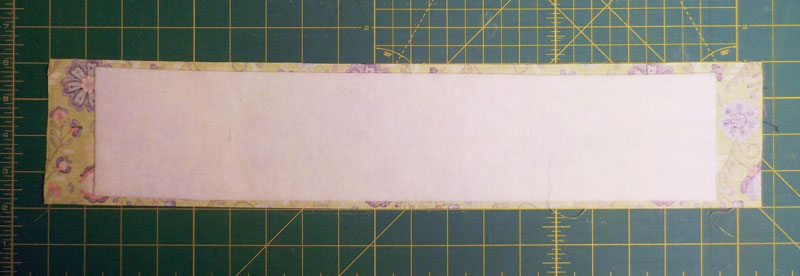
Following the manufacturer’s directions, fuse the fleece to the wrong side of the strap fabric. The fleece is centered 1 ½” from the short sides and 1/4″ from the long edges.
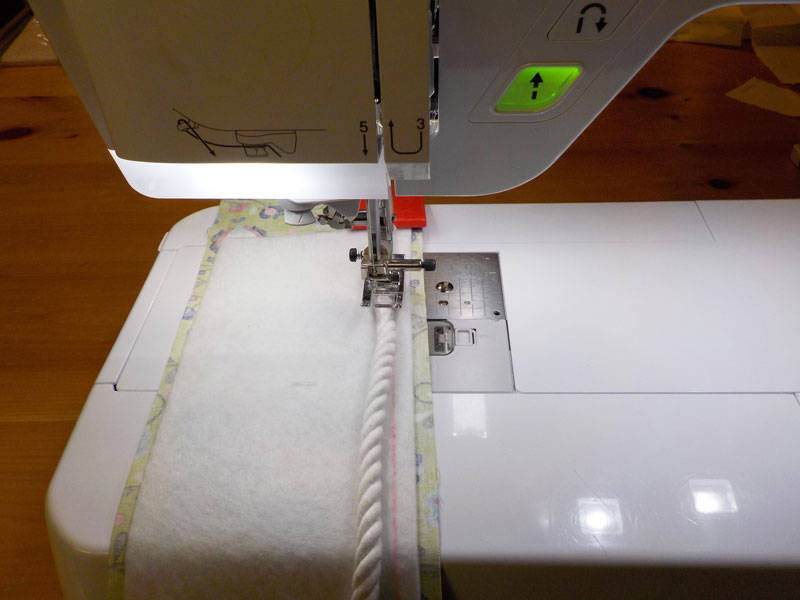
I’m using a Baby Lock Unity sewing machine in the next step to sew the cording to the strap ½” from the fabric edge.
I have set the machine to a zig-zag stitch with a 7mm width and 5mm length. Your machine may not stitch that wide.
If that’s the case, use the widest setting your machine allows or hand baste in place. Draw a line ½” from the fabric edge to help you place the cording correctly on the fleece.
Pin the long edges of the handle right sides together. Using the zipper foot, sew the long edge using a ¼” seam allowance.
Repeat to make 2.

Turn the handle to the right side with a loop turner. Press so that the seam is centered along the back of the handle.

Turn the handle over and draw lines 3″ from each short end.

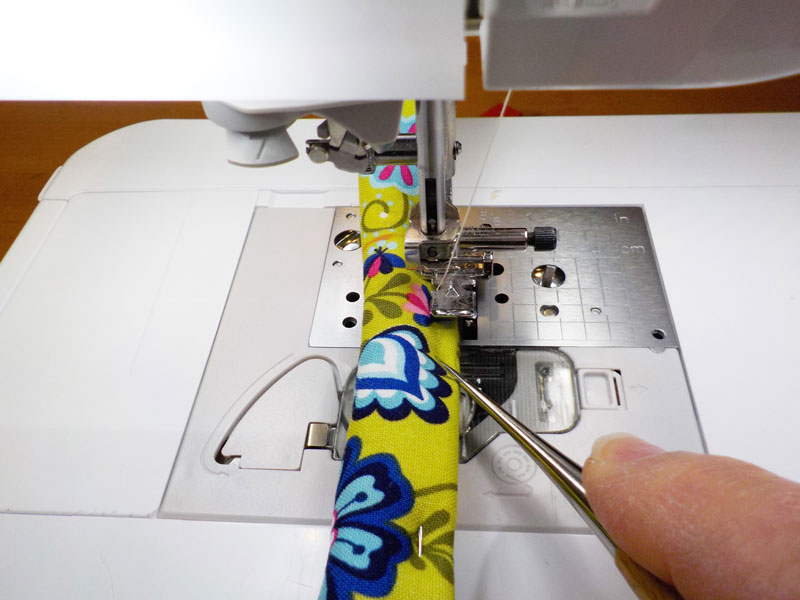
Fold the long edges together and pin. Using a zipper foot, edgestitch along the length between the lines. Use a 3.0 mm stitch length and a stiletto to compress the bulk at the needle. Pick out any zig-zag stitches that show at the ends.
Application
I’m doing a mock application of the handle in these next steps using a scrap of fabric to represent the bag.
Draw a line 1 3/4″ down from the top edge of the bag. Make marks 2 ½” from center to leave 5″ between the handles.
Pin the handles to these marks as shown with the RS of the strap facing down and stitch across the short ends using a ¼” seam.
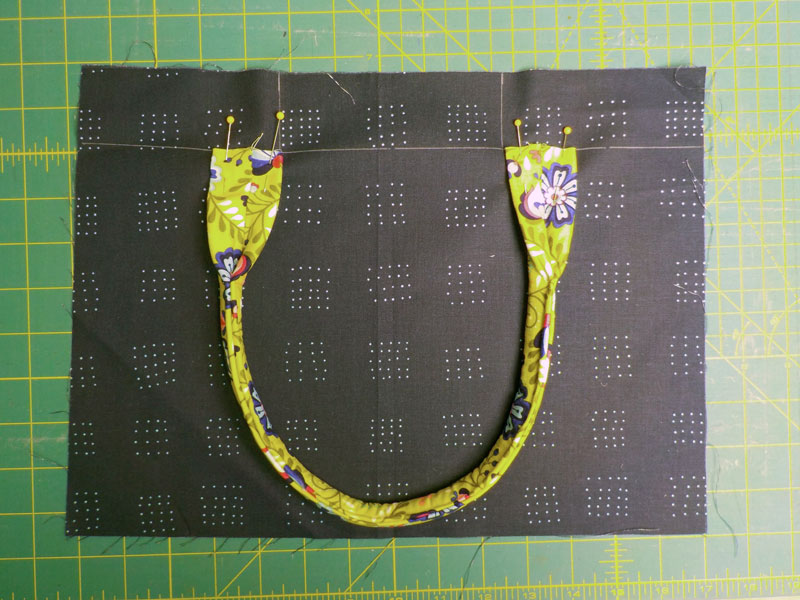
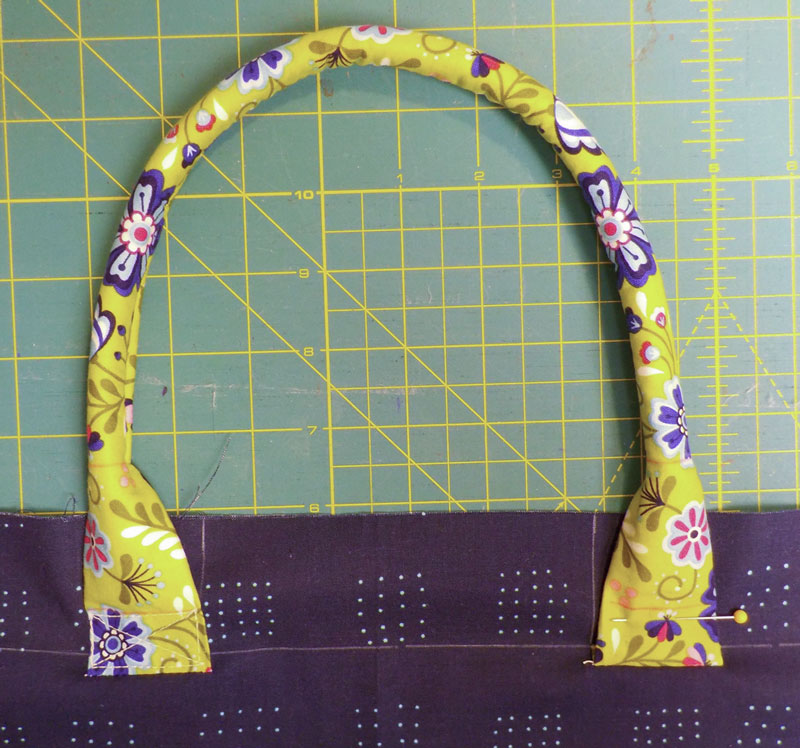
Fold the handle up covering the raw edge.
Measure ¾” from the end of the handle and draw a line.
Stitch a box with an ‘X’ formation through it at this area.
That’s how to make a purse handle with enough body to stand up on it’s own. You’ll like the way the added structure feels as you carry your bag. Enjoy!
Want more like this?
Sign up for our weekly email newsletter from Among Brenda’s Quilts & Bags and get a list of handy tips that will help you create a bag that’s perfect for you. We’ll let you know when we post new tutorials, plus you’ll be the among the first to find out about the latest patterns and video classes. Hit the pink button to go to the signup page.

Sounds Really good, can’t wait to try this!
I’m glad you thought so Linda. Happy sewing!
I made a corded strap like this a few months ago, and it worked, but I made a mistake or two when attaching to the bag, and ended up having to cut the ends… I have no more material left and still want to use my cord. Is there a way to attach a ring to each end without using a “bullet end”? I was thinking of using a leather strip and whip-stitch the rings to the cord, but am unsure of how to start that so that the cord and ring don’t pull apart with weight in the bag.
Any ideas?
Hi Erin, Sorry for the delay in my response. Yes, I can see how it’s going to be difficult to attach a ring to your strap now. When I first read your question I thought perhaps if you cut out some of the cord to create a less bulky area for threading through the strap that might work. But on second thought, that might compromise the strength of the entire strap – it all depends on the strength of the fabric you used. A bullet end or wrapped end through the ring is going to look a little odd unless you can hide it somehow. It’s a head scratcher for sure Erin! Best of luck